Creating a New Android Project
Choose your project
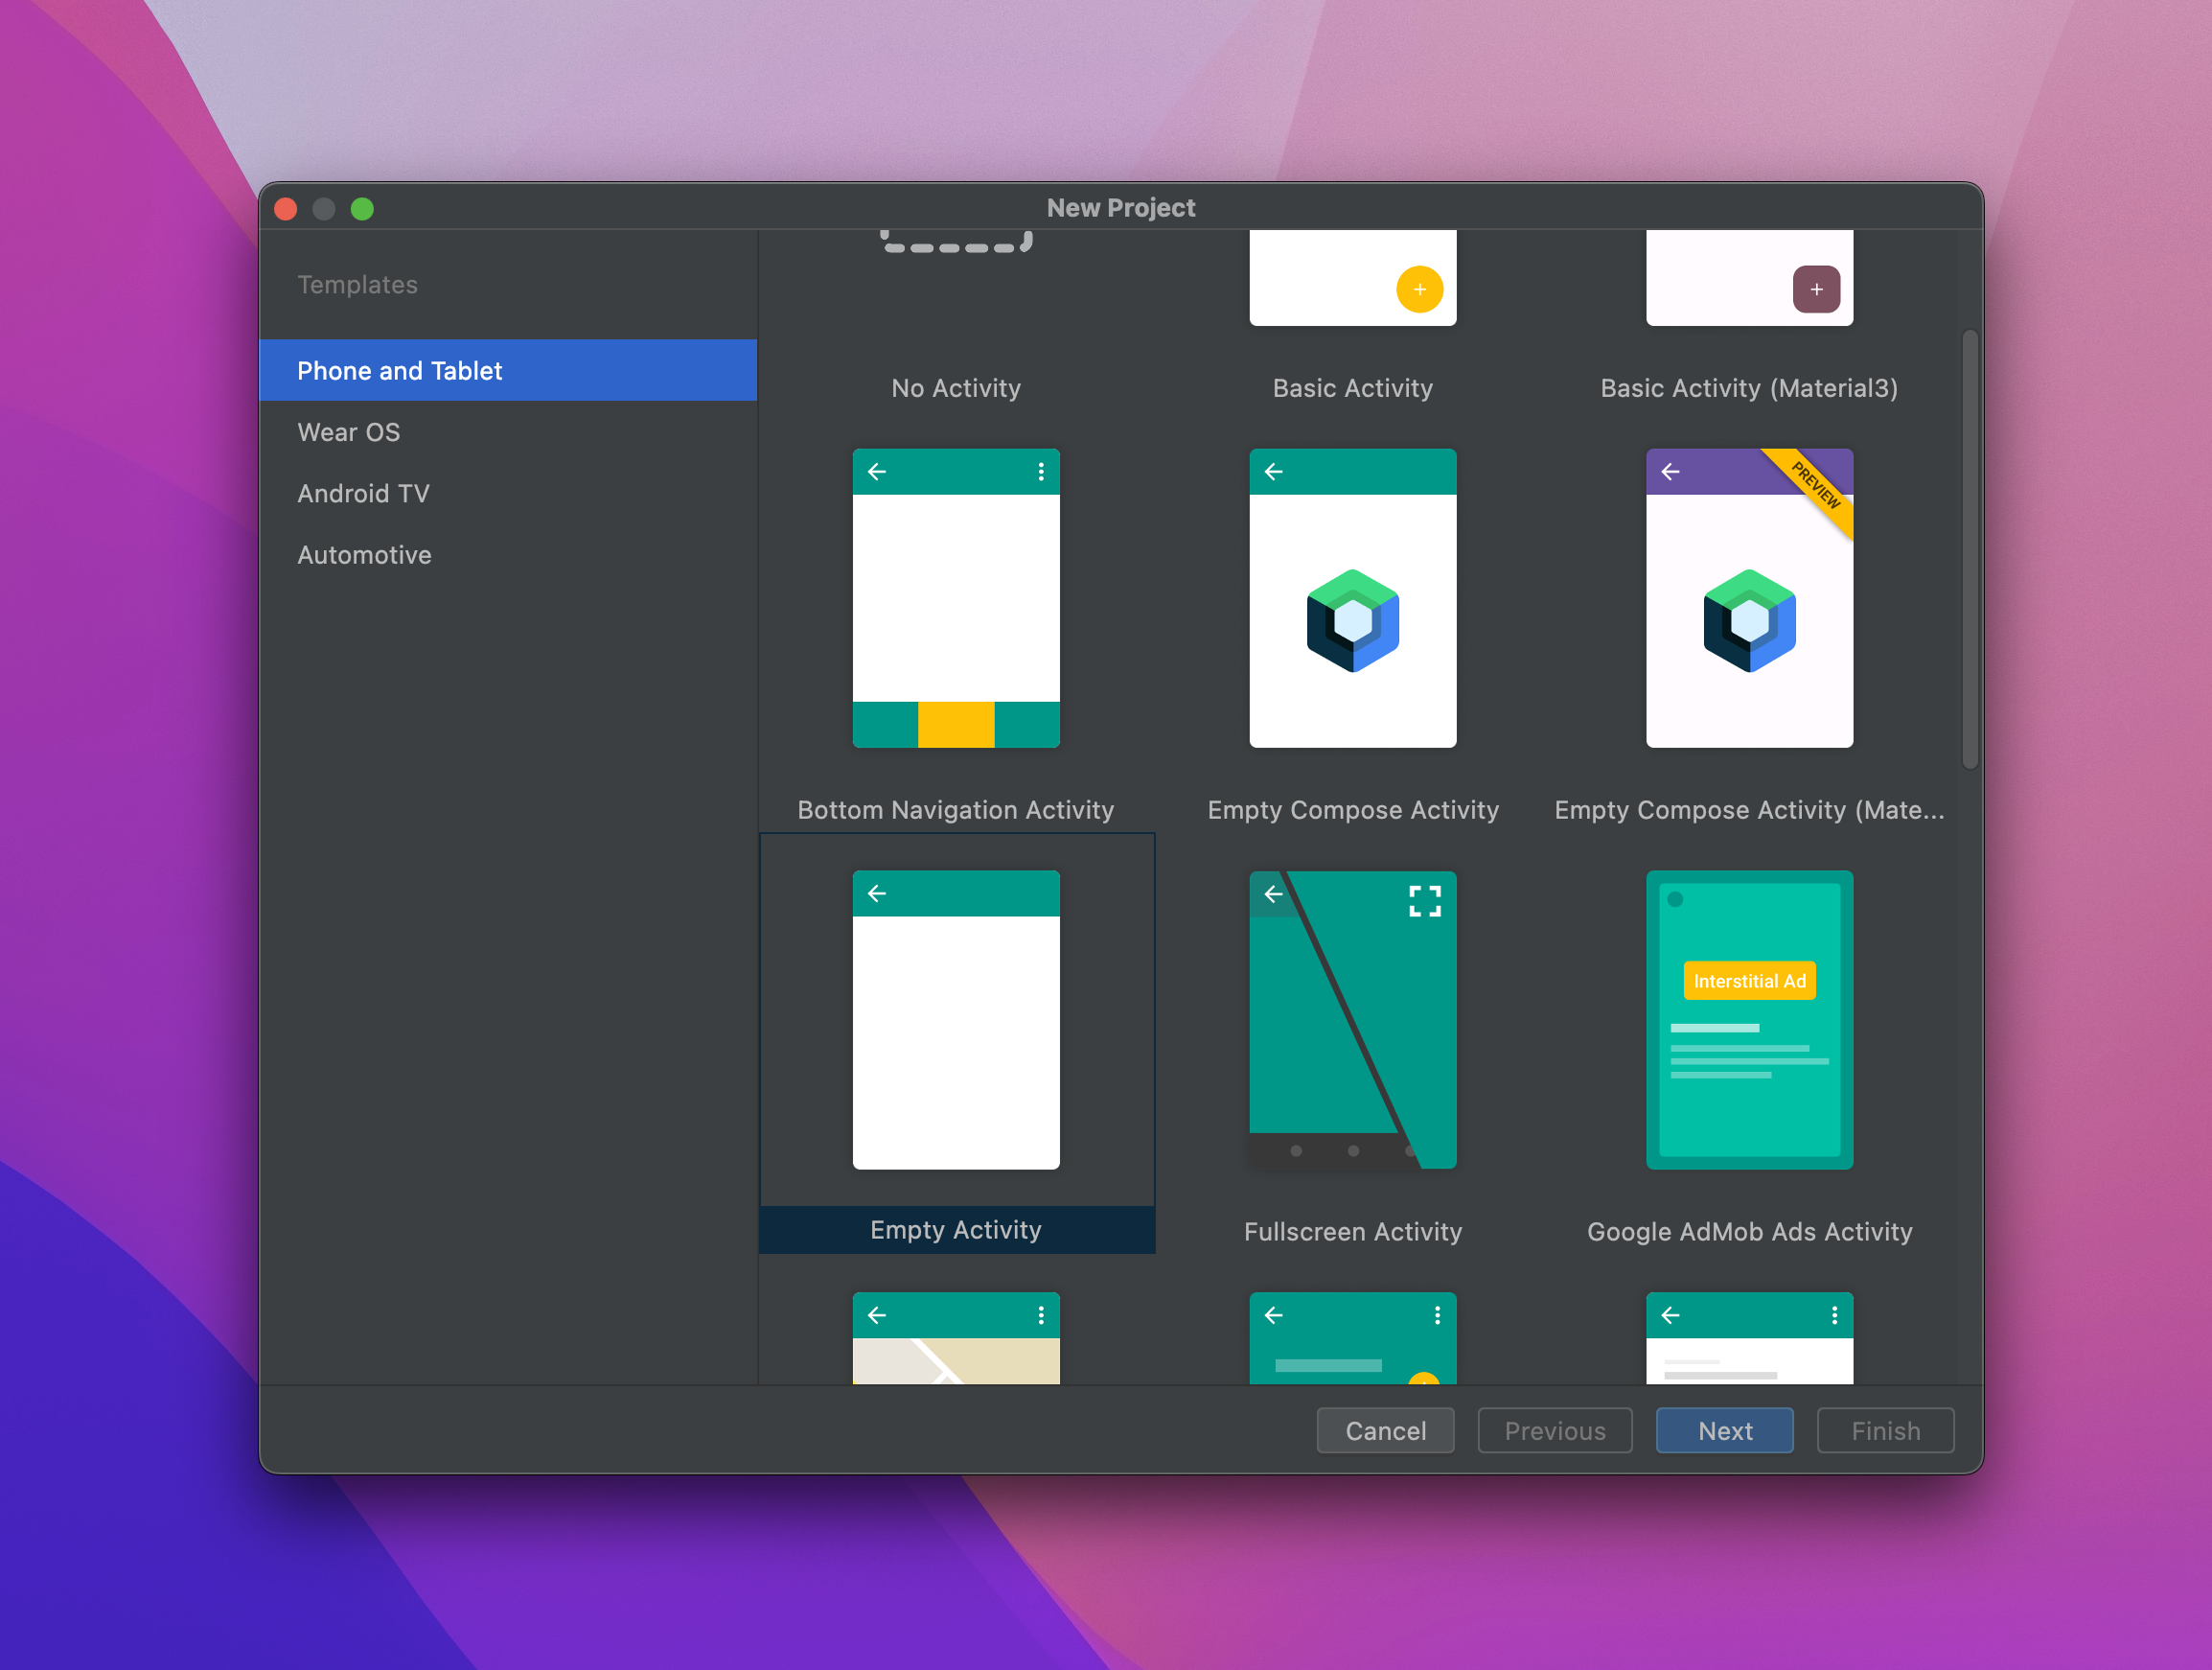
Open Android Studio and go to File > New > New Project to create a new Android project. In this example we will choose Empty Activity under the new project templates:
💡 Tip
For more information on creating a new Android Project, see Google Developer guides on how to create a new Android project.
Configure your project
Provide the app name, package name, and Save Location.
Set the Minimum SDK as API 22:
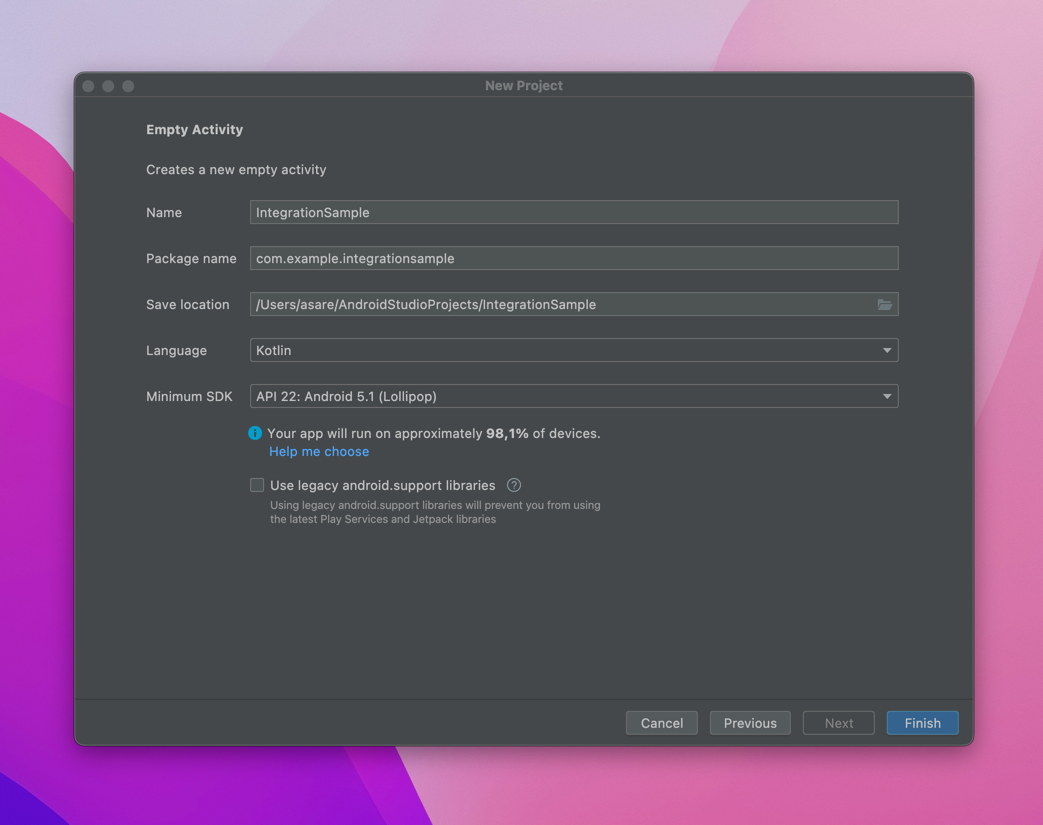
Click Finish button to create the new project. Android studio will complete the project setup including downloading all needed files, and Gradle sync.
Run the app. From the Android Studio menu, go to Run > Run 'app' to build and run the project on a real device or an emulator.
💡 Tip
For more information on how to build and run an android project see Google Developer guides on how to run the project.
Troubleshooting
Problem
If you get a build error about Android Gradle plugin requirement that looks like this:
An exception occurred applying plugin request [id: 'com.android.application']
> Failed to apply plugin 'com.android.internal.application'.
   > Android Gradle plugin requires Java 11 to run. You are currently using Java 1.8.
     Your current JDK is located in /Library/Java/JavaVirtualMachines/jdk1.8.0_301.jdk/Contents/Home/jre
     You can try some of the following options:
       - changing the IDE settings.
       - changing the JAVA_HOME environment variable.
       - changing `org.gradle.java.home` in `gradle.properties`.
Solution
Change the Android Gradle plugin to the version specified in the build error message:
- In Android Studio go to Preferences on MacOS or Settings in Windows OS > Build, Execution, Deployment > Build Tools > Gradle > Gradle JDK.
- Then select JDK version that
Android Gradle pluginrequires in the error message (in this instance JDK 11):
